Your Guide to Making Hitchhiking Ghosts this Halloween!
Your DIY guide to recreating Haunted Mansion’s Hitchhiking Ghosts this Halloween.


PROJECT OVERVIEW
Beware of Hitchhiking ghosts….
Welcome Foolish Mortals!
Disney World has been a special place for our family for a long time.
This year we decided to recreate the Hitchiking Ghosts from the Haunted Mansion ride! We also created the Singing Busts – you can check out that tutorial here.
Looking online there weren’t a lot of tutorials for creating hitchhiking ghosts that we were particularly fond of…
That is….until we found Epbot!
Everything that we did closely follows their tutorial, so be sure to check them out (they even added a little extra magic that we skipped this time around – I’ll let you discover what that was)!
Huge shoutout to them for inspiring us and sparking our creativity! Now onto those happy haunts!
Materials List
Here are some of the items we used to materialize our happy haunts!
Hitchhiking Ghosts
If you would like to purchase something, please use our links! We recieve a small commision (but your price stays the same!) and it helps us continue running our blog. We truly appreciate your support!
- Foam Board Insulation – $40-$50
- Pencils – free if you have them on hand!
- Projector or other means for tracing – here’s the projector we used – $50
- Ghost File for tracing – unless you can free hand it!
- Box Blade or Foam Heat Cutter
- Teal paint in 3 colors, light, medium and dark. – We got ours at Lowes and just picked a teal shade and then they mixed two darker ones for us.
- Glow in the dark paint – $5 (find at any craft store or Walmart.)
- Black lights – $40 (you can buy cheaper ones but this is the one we purchased)
Sonder Tip: you don’t actually need the projector for the final project, just for tracing your ghosts so if you can’t afford one, find one to borrow or buy one, trace your ghosts, then return it….
Ghost Stands
Sonder tip: You do not need to have wood tools on hand for this project, check your local hardware store for rentals!
- 8 ft 2×4 Boards – 2 total
- 1/2 inch thick project panel (or any leftover wood of similar size you have for connecting) – 3 total about 12 in tall by 3 inch wide.
- Wood screws
- Black spray paint
Project Steps
Tread carefully …

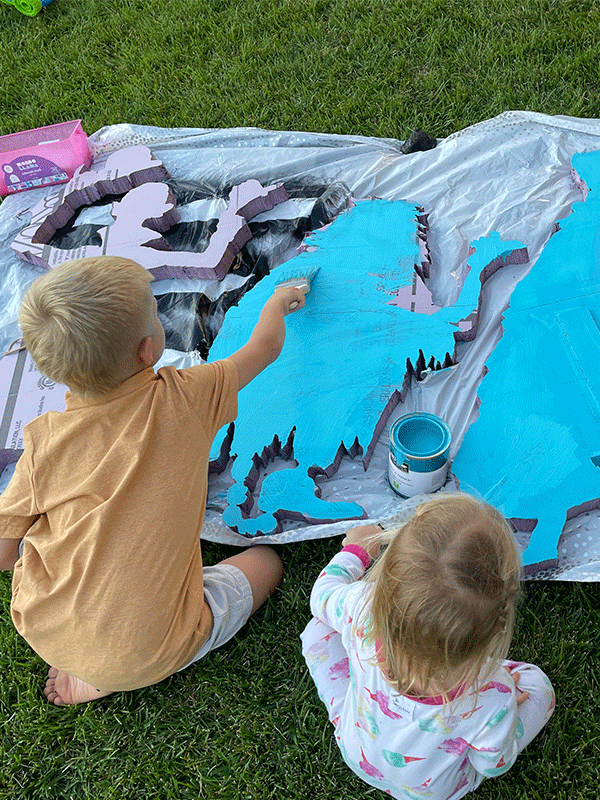
Paint the front and back of your Foam Board insulation with the lightest color teal paint!
We used a roller brush for this and even let all the kids have a go. It was hauntingly fun!
Be sure to let one side dry fully before moving to the next!
Trace the ghosts! This part was a lot of fun too!
We let the kids go first and then after they had gone to bed, carefully erased where they had gone wrong and finished tracing all that they had missed!
We used a pencil and we traced every line (the shadows, the outlines, the highlights, etc.)
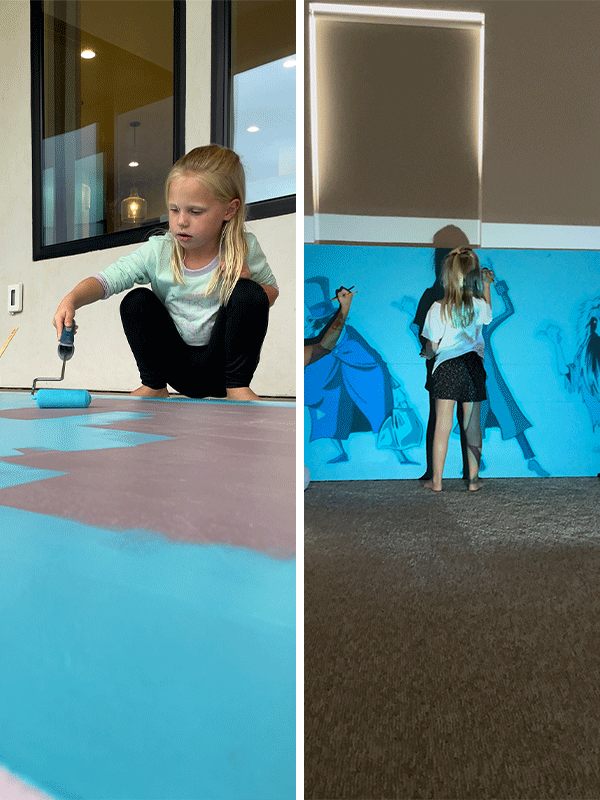
Sonder Tip: If you buy the projector we purchased, you can easily put your .PNG or .JPG hitchhiking ghosts file on an SD card or thumb drive and then hook that into your projector, turn it on and voila you can trace your ghosts!
Another tip – the more precise you are with your pencil lines, the easier it will be to cut out and paint your ghosts later.
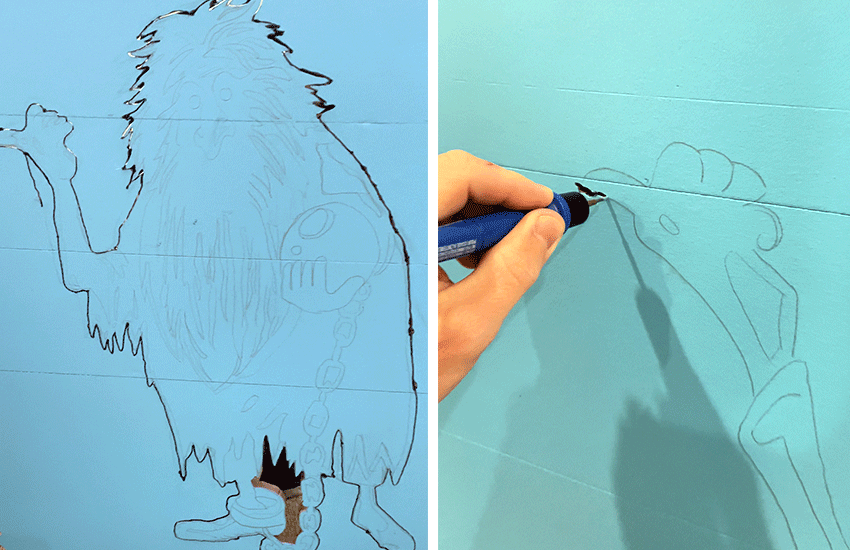
Time to cut out your ghosts! We started with a small craft blade and quickly decided that was going to take too much time and effort…
ENTER the coolest little foam board heated saw! It was still a relatively slow process but sooo much better than using the blade — and oddly satisfying to use.
We thought the little tool was awesome and BONUS: it made it easy to be very precise with our cuts!
Sonder Tip: Slowly move the blade in and out (just a little) as you burn through the foam.

Now that you’ve cut out your ghosts, you’re ready to make them come alive!
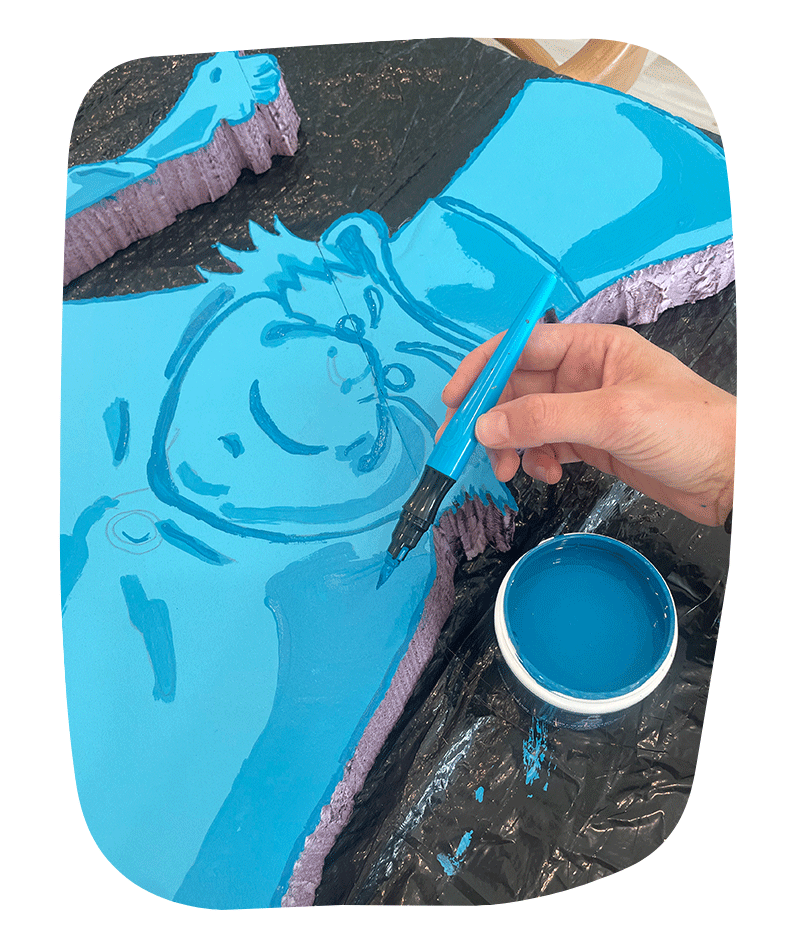
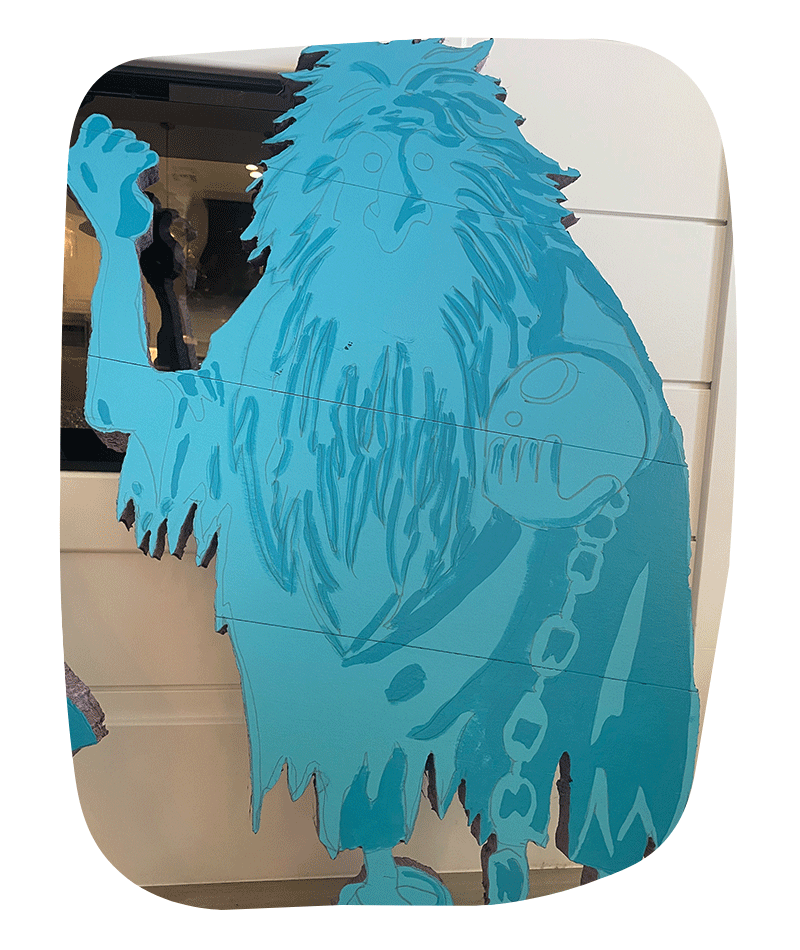
Using the second darkest shade (middle shade) of turquoise, fill in all of the shadows on your ghosts.
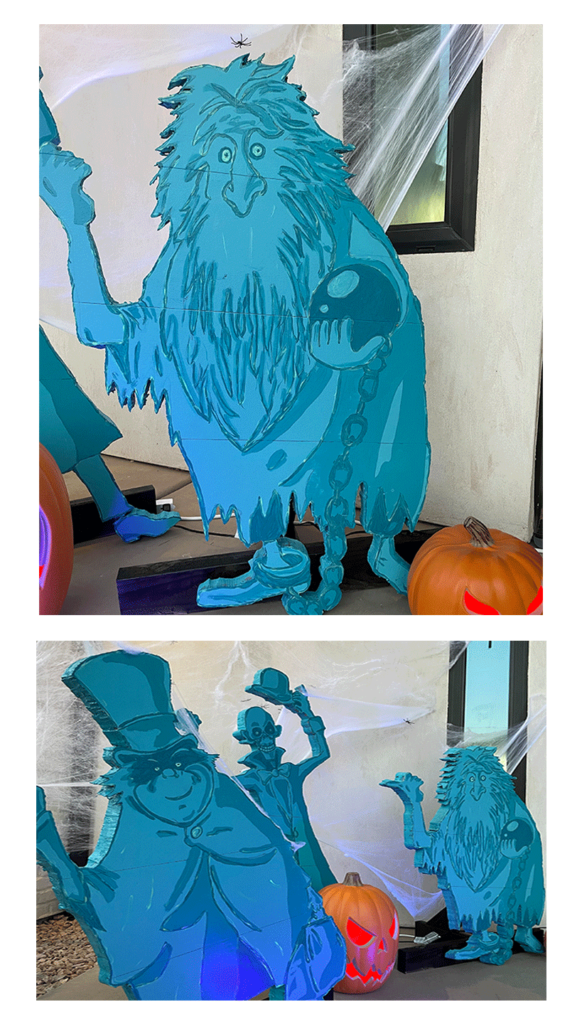
You can see from this photo here, how much they came to life just by adding the shaded areas!
Sonder Tip: If you don’t want to leave the sides of your ghosts purple, I would highly recommend painting them the lightest teal shade and letting it dry before starting your shadow shades.
We forgot to do this and ended up doing it at the end and then having to touch up a bunch because it bled onto the front. Better to just get it done.
Sonder 2nd Tip: We were very sloppy with this part so I just want to say that you don’t have to have your lines perfect in order for it to look good.
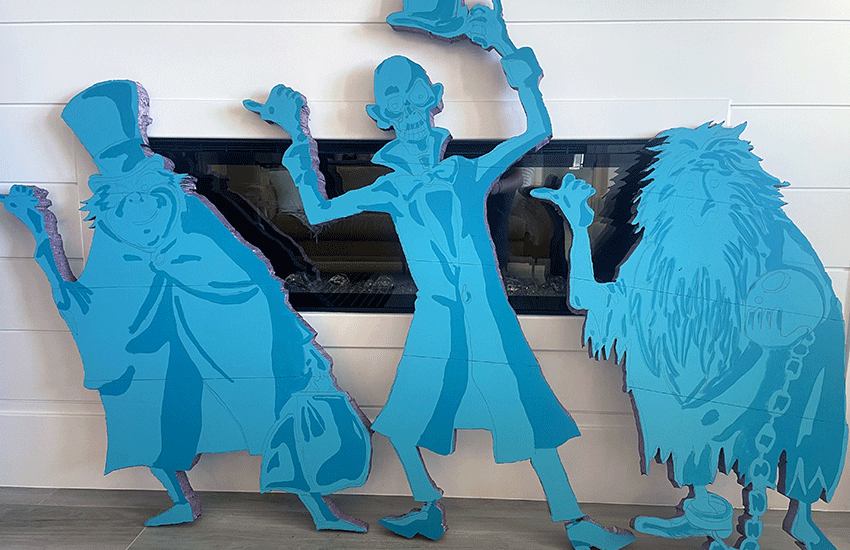
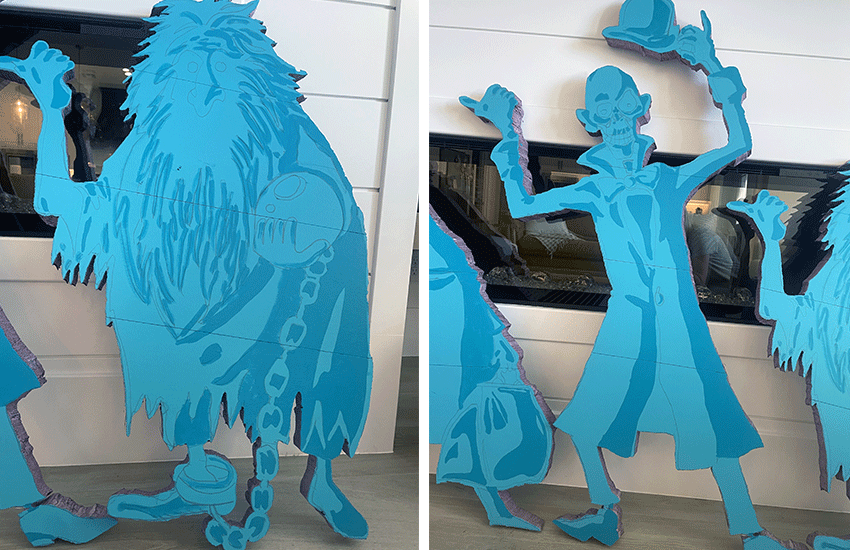
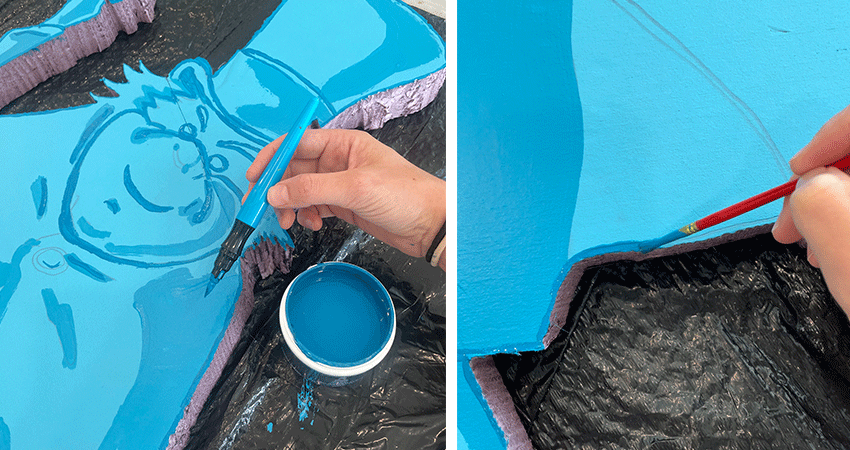

You guessed it – time for the final and darkest shade of teal paint. Paint all of the outlines on your ghosts and trace the entire outside edges. Then leave it to dry once more!

Yay! You’re nearly there.
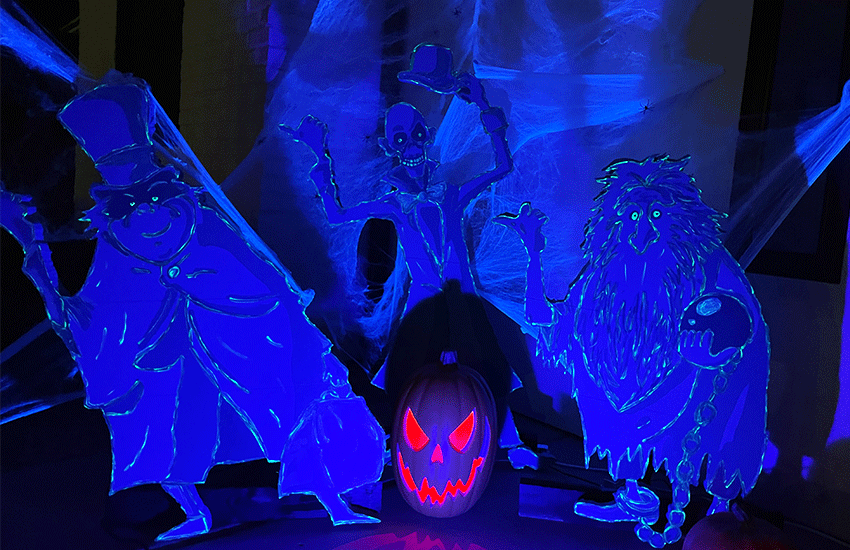
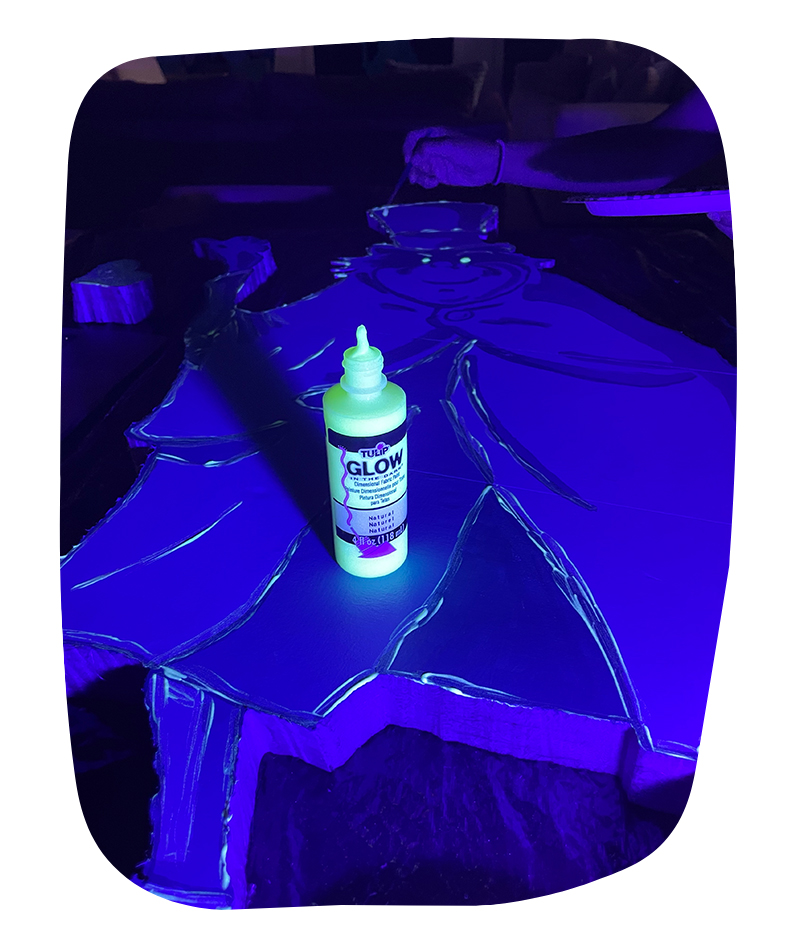
Now that has all dried, it’s time to go over all your lines with your glow in the dark paint!
We traced all the darkest lines, and then turned on the blacklight and added lines where we felt it needed more.
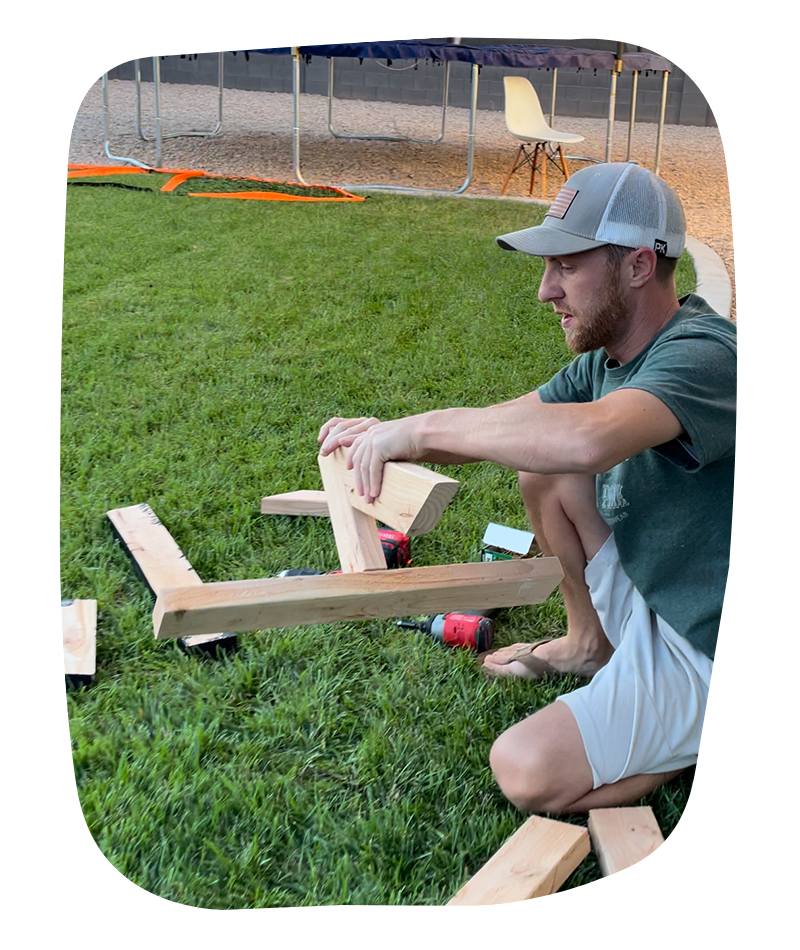
We plan to put these out on our front porch for the Halloween season, and because they are so lightweight we needed to put sturdy stands on them to keep them grounded no matter how much they wanted to drive away.
Using wood glue, secure your project panel wood onto the lowest section of the back of your ghost. Let fully dry.
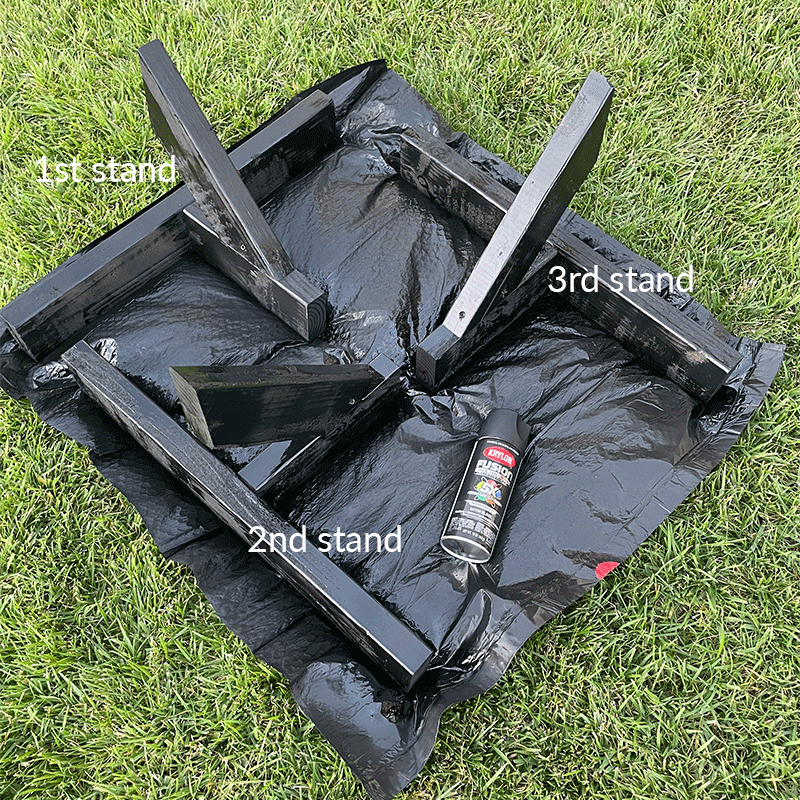
While it dries, make the following cuts in your 2×4’s:
3 cuts at 24″ length
3 cuts at 12″ length
3 cuts at 12″ length and 45 degree angle edges (for connecting).
Screw your 12″ cut to the center of your 24″ cut.
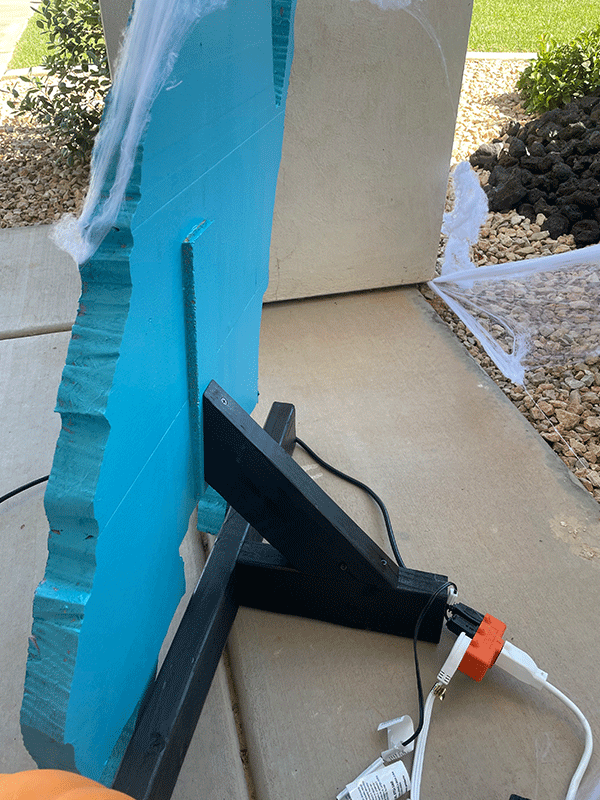
Now take the 12″ cut with 45 degree angles and screw into the edge of your 12″ base (see photo).
Now screw your bases onto the wood (if fully dry) on the back of your ghosts.
VIDEO / REEL
Check out this video we made while creating our Haunted Mansion Busts!
Give us a follow on social media if you enjoyed our tips and be sure to tag us if you recreate this project.
I for one would just be utterly thrilled and shocked to find out if someone enjoyed this blog & our video because it is one of our FIRST ones to go up.
In fact, if you’re actually reading this part please reach out with a comment or like. I would be so happy!
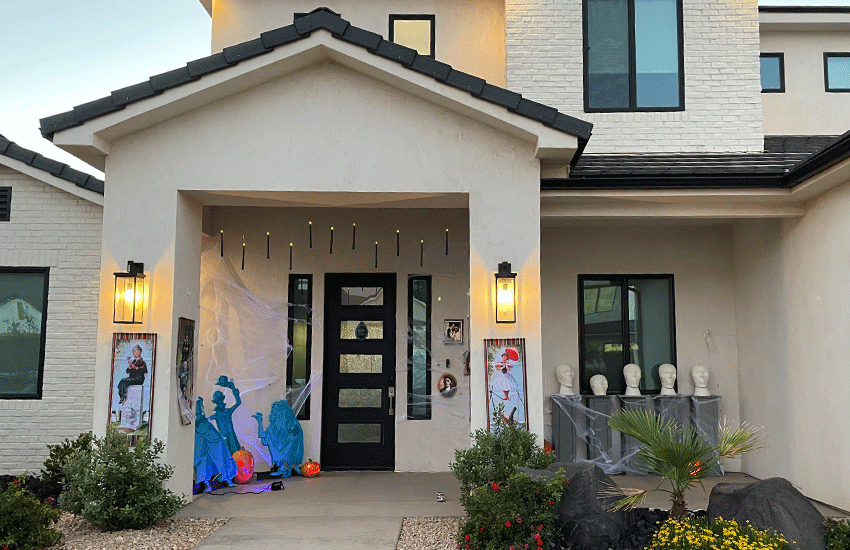
Final photos of our ghostly setup! At night it’s even better!
Hitchhiking Ghosts | Roof Candles | Door Knocker | Horror Photos | Spider Webbing | Haunted Mansion Banners | Singing Busts
FINAL THOUGHTS
You don’t have to be artistically talented to do this, we aren’t and it still looks great!
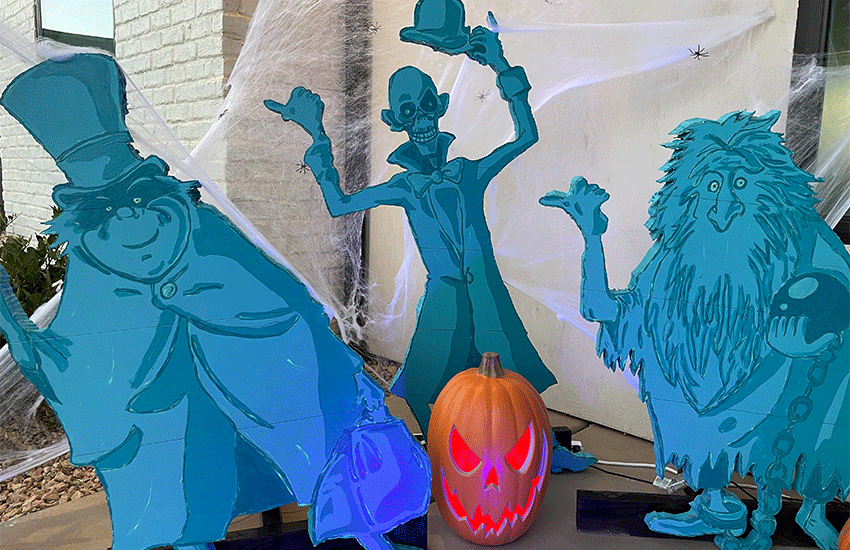
Couple last things to note:
First, I don’t know how these would hold up in harsh weather or torrential rain storms. We keep ours under our covered front porch and they’ve held up great.
Second – if you’re worried about building the bases out of wood or don’t have access to tools, you can still get creative for your display. You could use cheap laundry baskets from the dollar store, or simply display them on your folding table and add some halloween flair like a black tablecloth and some pumpkins. Whatever you do, just have fun with it!
Lastly – We do not have ANY experience creating halloween decorations. This was quite literally our first attempt. So I just want to state here that if we can do it…YOU CAN DO IT! Trust me. It really wasn’t too hard. Just took a little commitment.
Hurry Back…Hurry Back!
Be sure to bring your death certificate… if you decide to join us. Make final arrangements now!
We’ve been dying to have you…”

